Take an image set of the red ball and save the images in a calibration folder. You can use the same exposure settings you normally use but it is often clearer with a higher F number to obtain more depth of field. Here F 13 and 1/4s was used at iso 100 – the exact exposure is not as important as being able to see sharp highlights and the ball edge.
Start relightlab
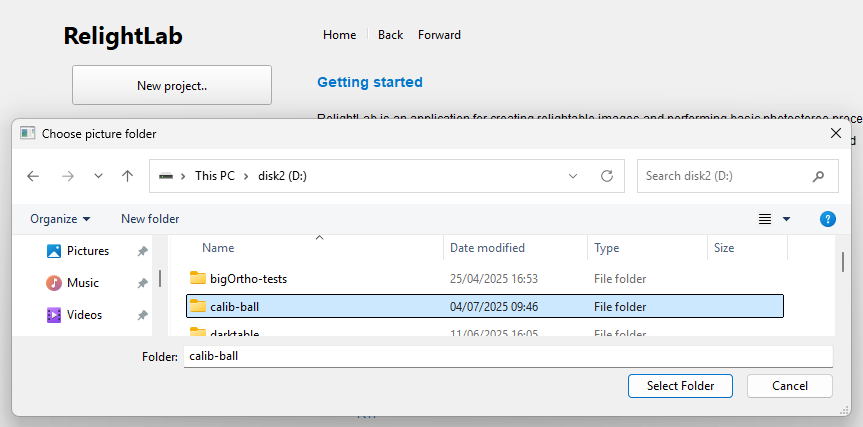
Make a New Project for your calibration
Here I selected the folder with my images:
It opens the folder and shows all the images in a list

The next step is to to select Scale on the menu. Here you set the scale of the images:
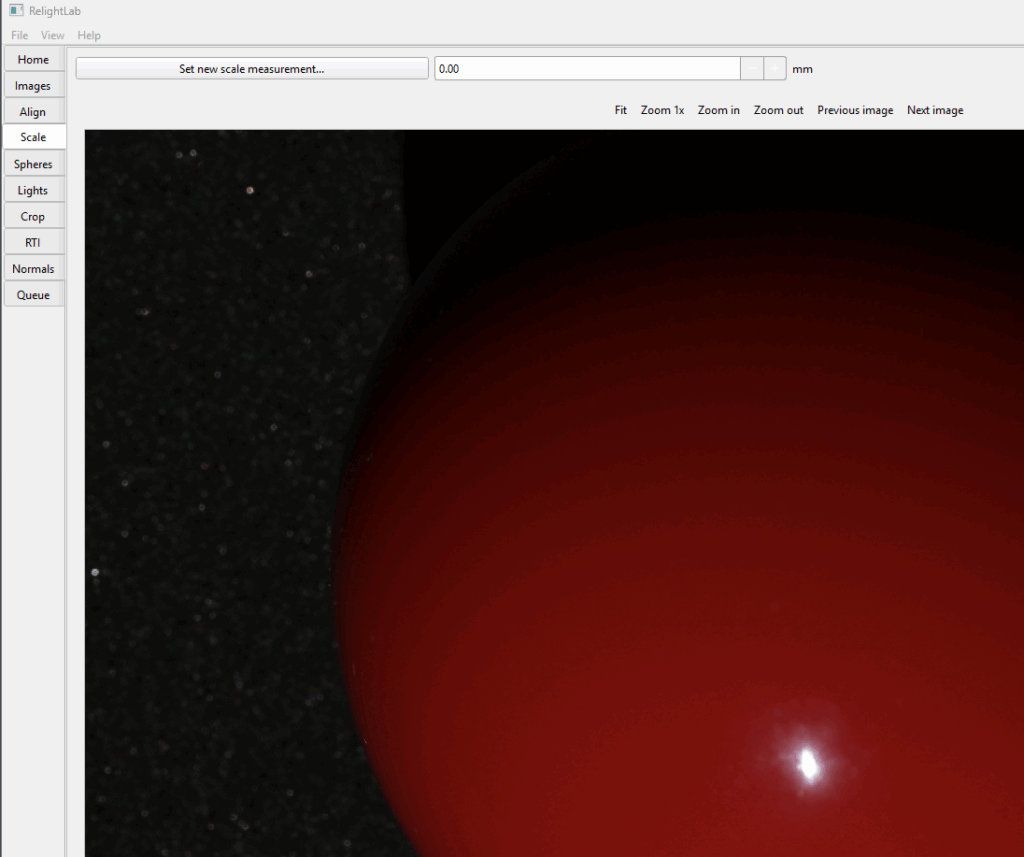
Select Set new scale measurement and click on the LEFT edge of the ball where it is clear. You can use Zoom in/out and Previous/Next image to find good images for this process. Then click on a point on the RIGHT (you can use top/bottom too). Note that on Windows mouse-scroll zooms and Ctrl-Mouse pans.
Here you can see that it draws a line and when you enter the ball diameter (47.63mm for our typical snooker ball).
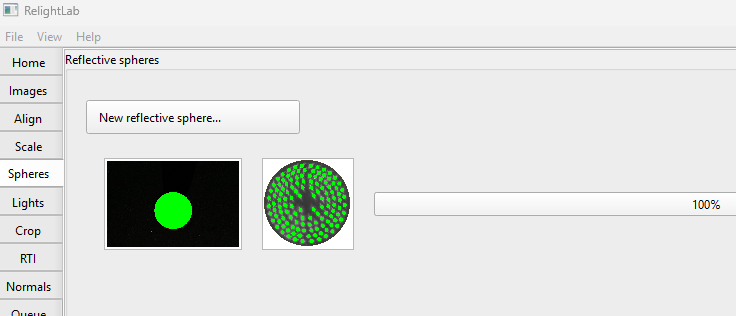
Next click on Spheres and select New reflective sphere

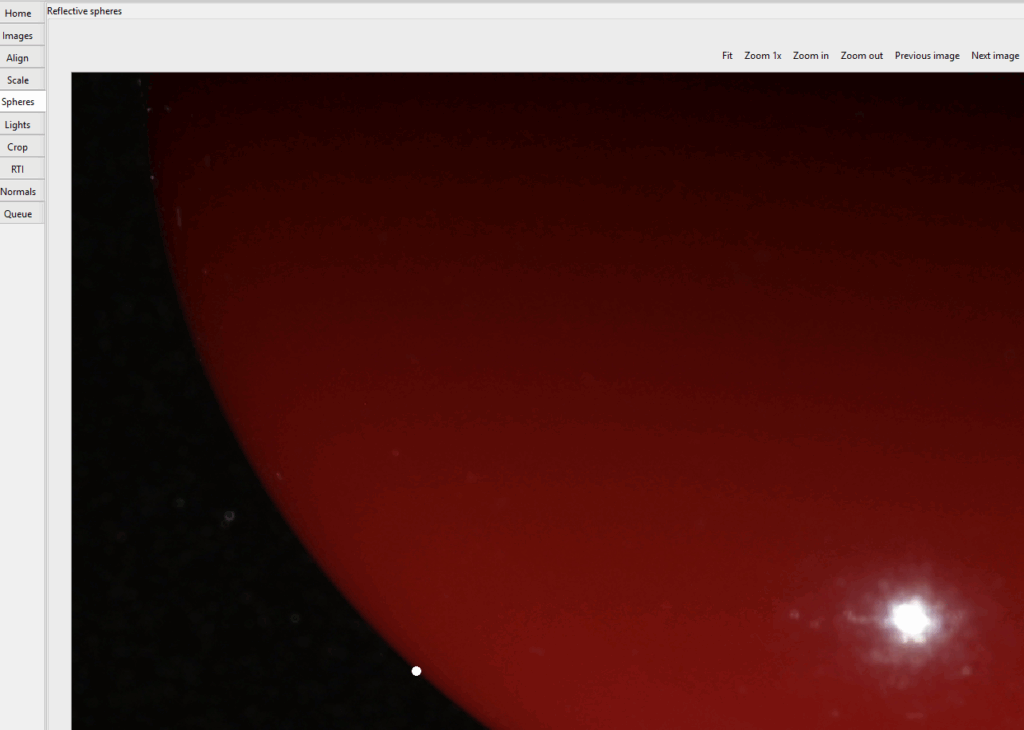
The aim is to click on three points around the ball. Here one point has been clicked. Then pan across and use Prev/Next image to choose images where the edge is clear:
this is the second point selected (you can drag the points once you click to place them – to adjust location)
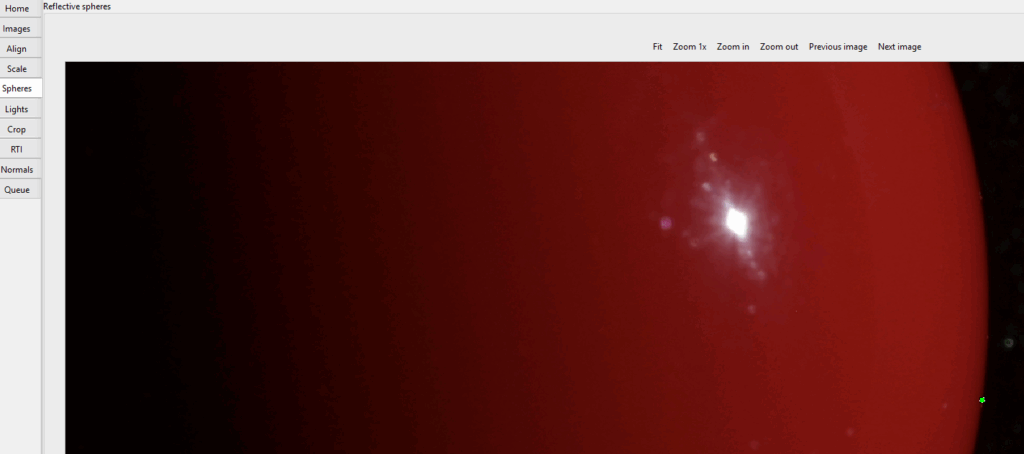
When you click the third point it will show its calculated perimeter:
If it looks good press the OK button on the bottom-right and it will process:

which finishes showing the overall light distribution:
Next choose the Lights task and you will see this:
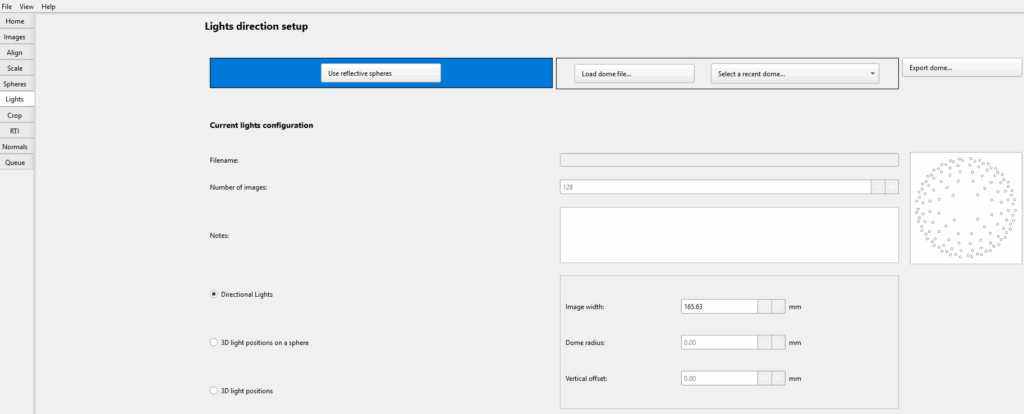
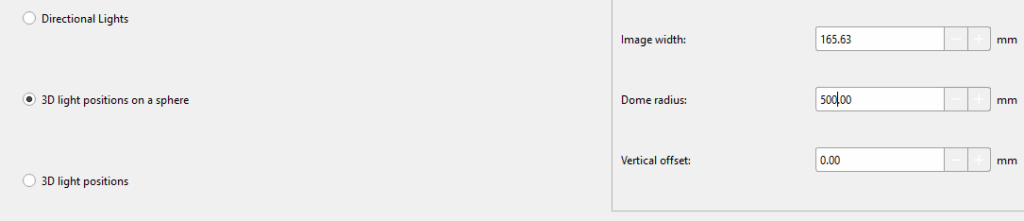
For the 1m dome, “select 3D light positions on a sphere”, enter its 500mm radius here
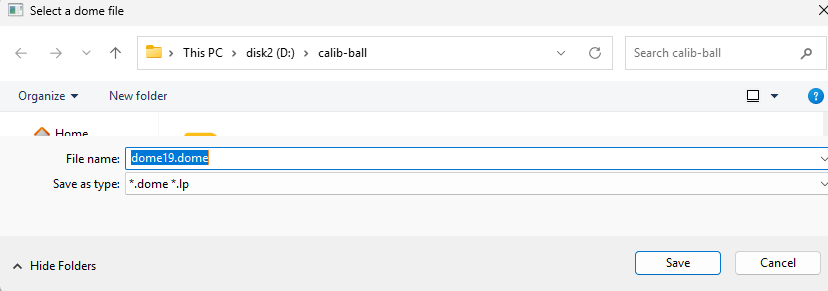
Finally click on “Export dome” on the top right and give it a good name (type .dome as the extention) and location:
At this point save this project in case you want to go back and alter anything: File->Save Project.
You can also save an lp file if you need one of those (we don’t use them any more).
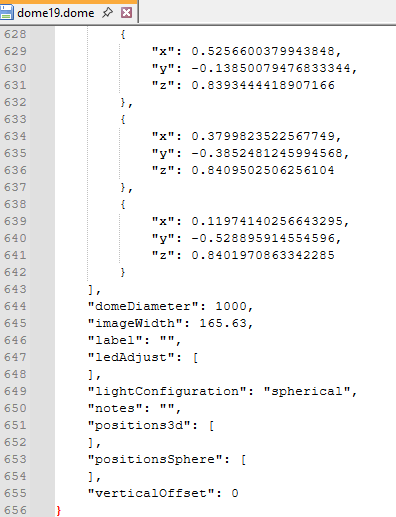
The .dome file has lots of coordinates as well as metadata at the end like this:
You can see that the scale here is now useful for future photos where the object is in the same plane as the ball. For objects which are far below/above that plane you can use the Scale task with a small ruler/scale when you take the image.